
3d Printer - part 5
Continued from part 4.
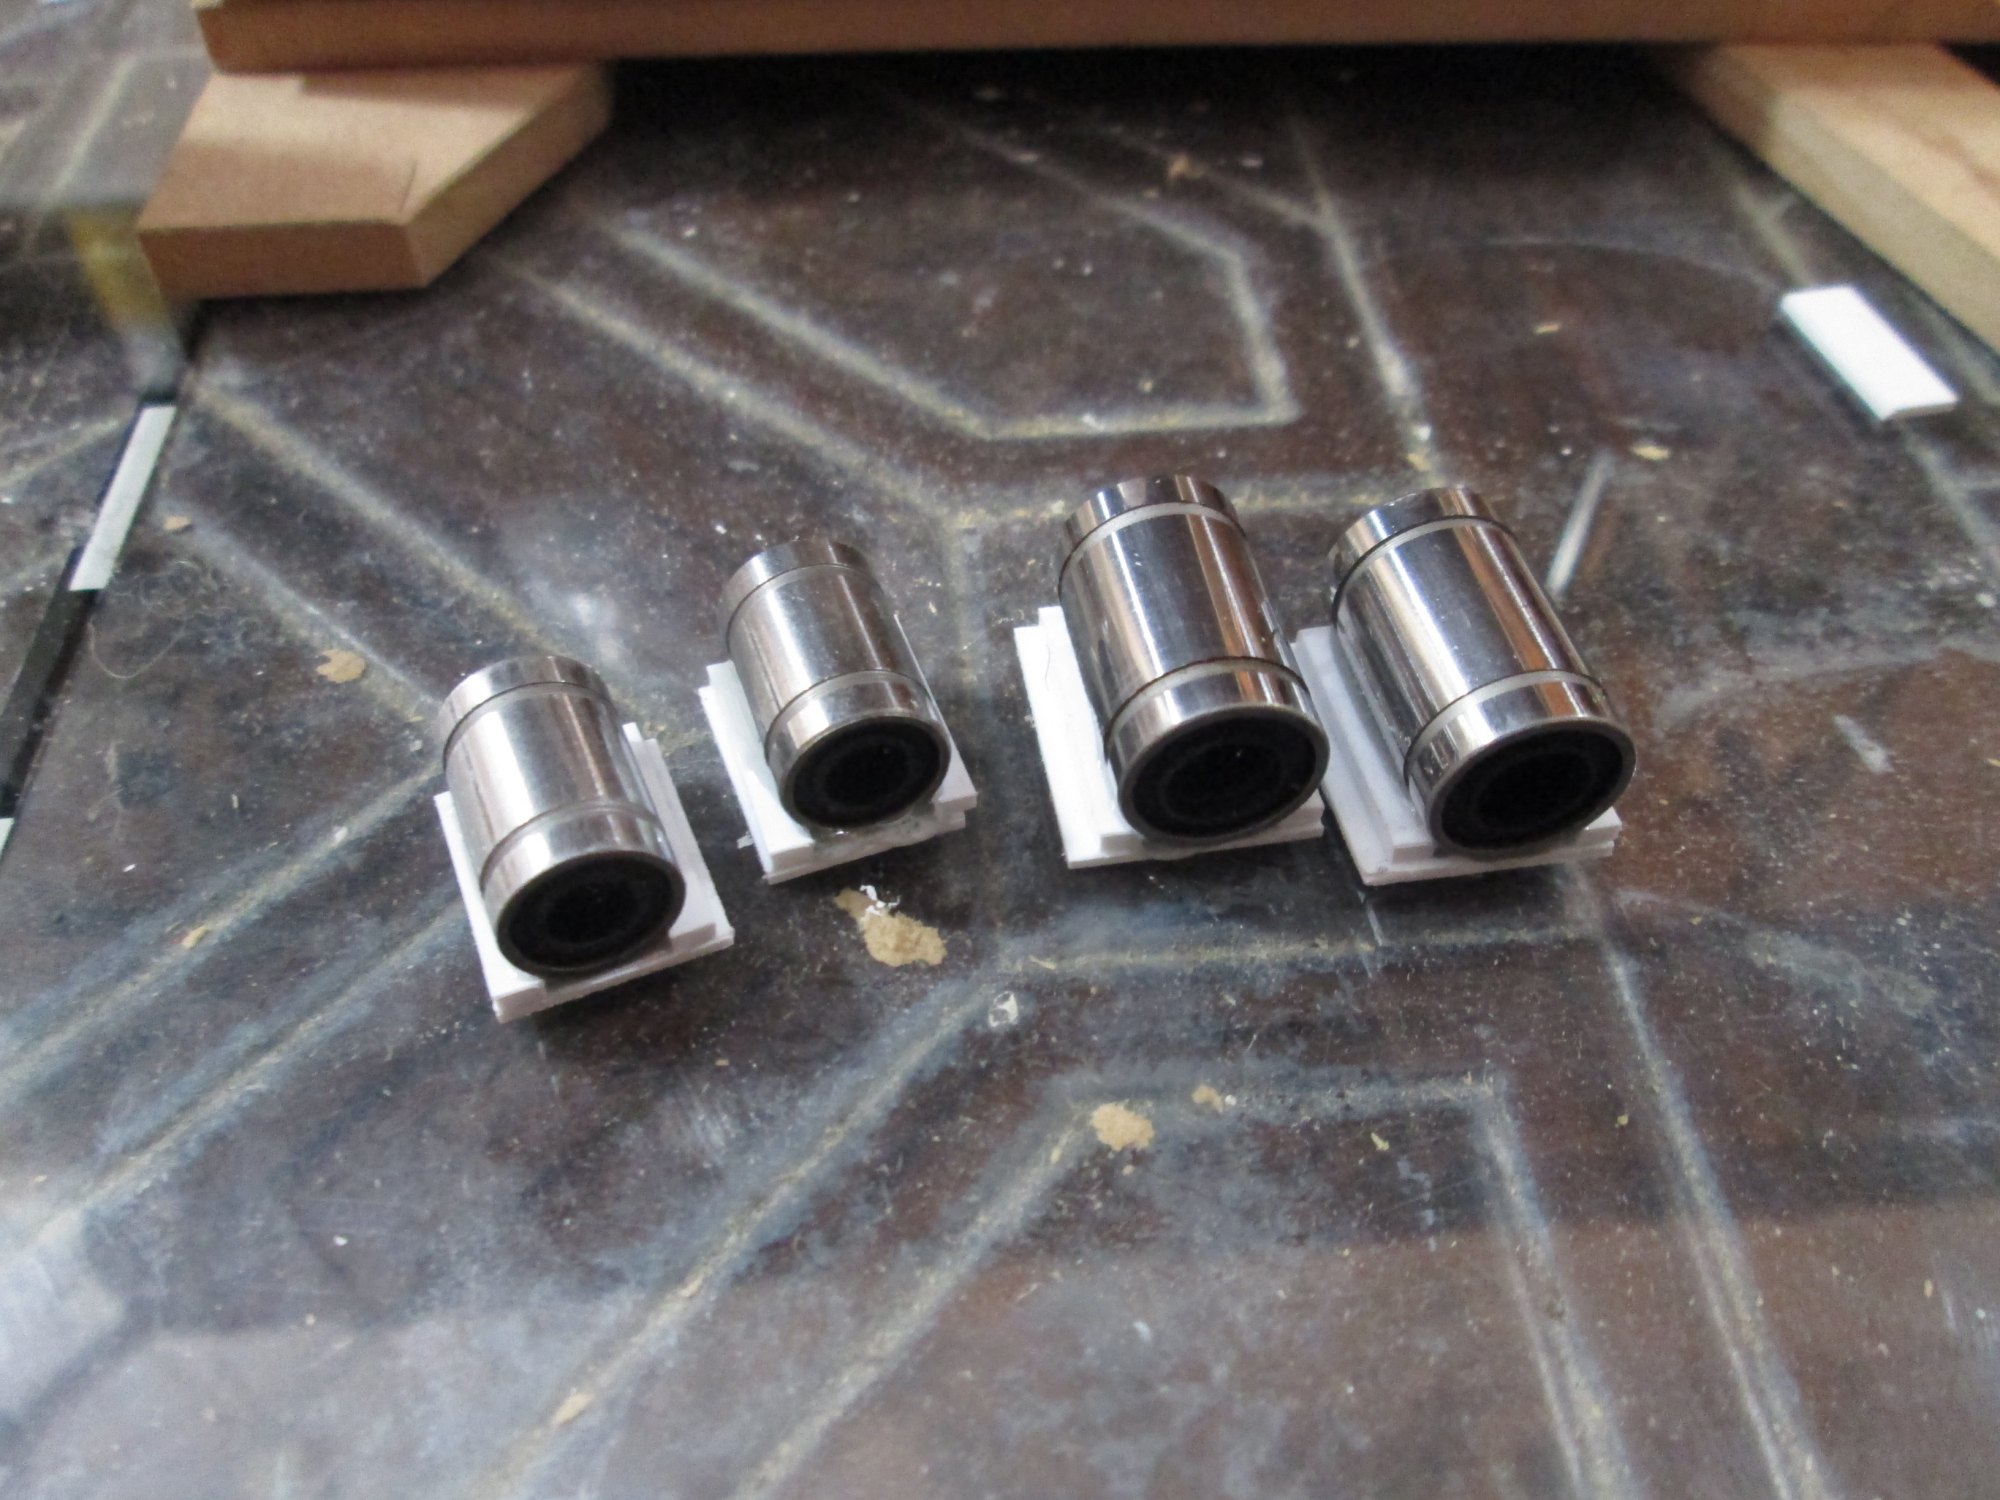
My linear bearings finally arrived, just under a month in transit. I wasted no time at all in putting them to use. First I added some supports to mount them by; these are just my usual 1mm thick sheet of styrene, epoxied to the bearing with a couple of supports on each side.
Y axis limit switches were then added:
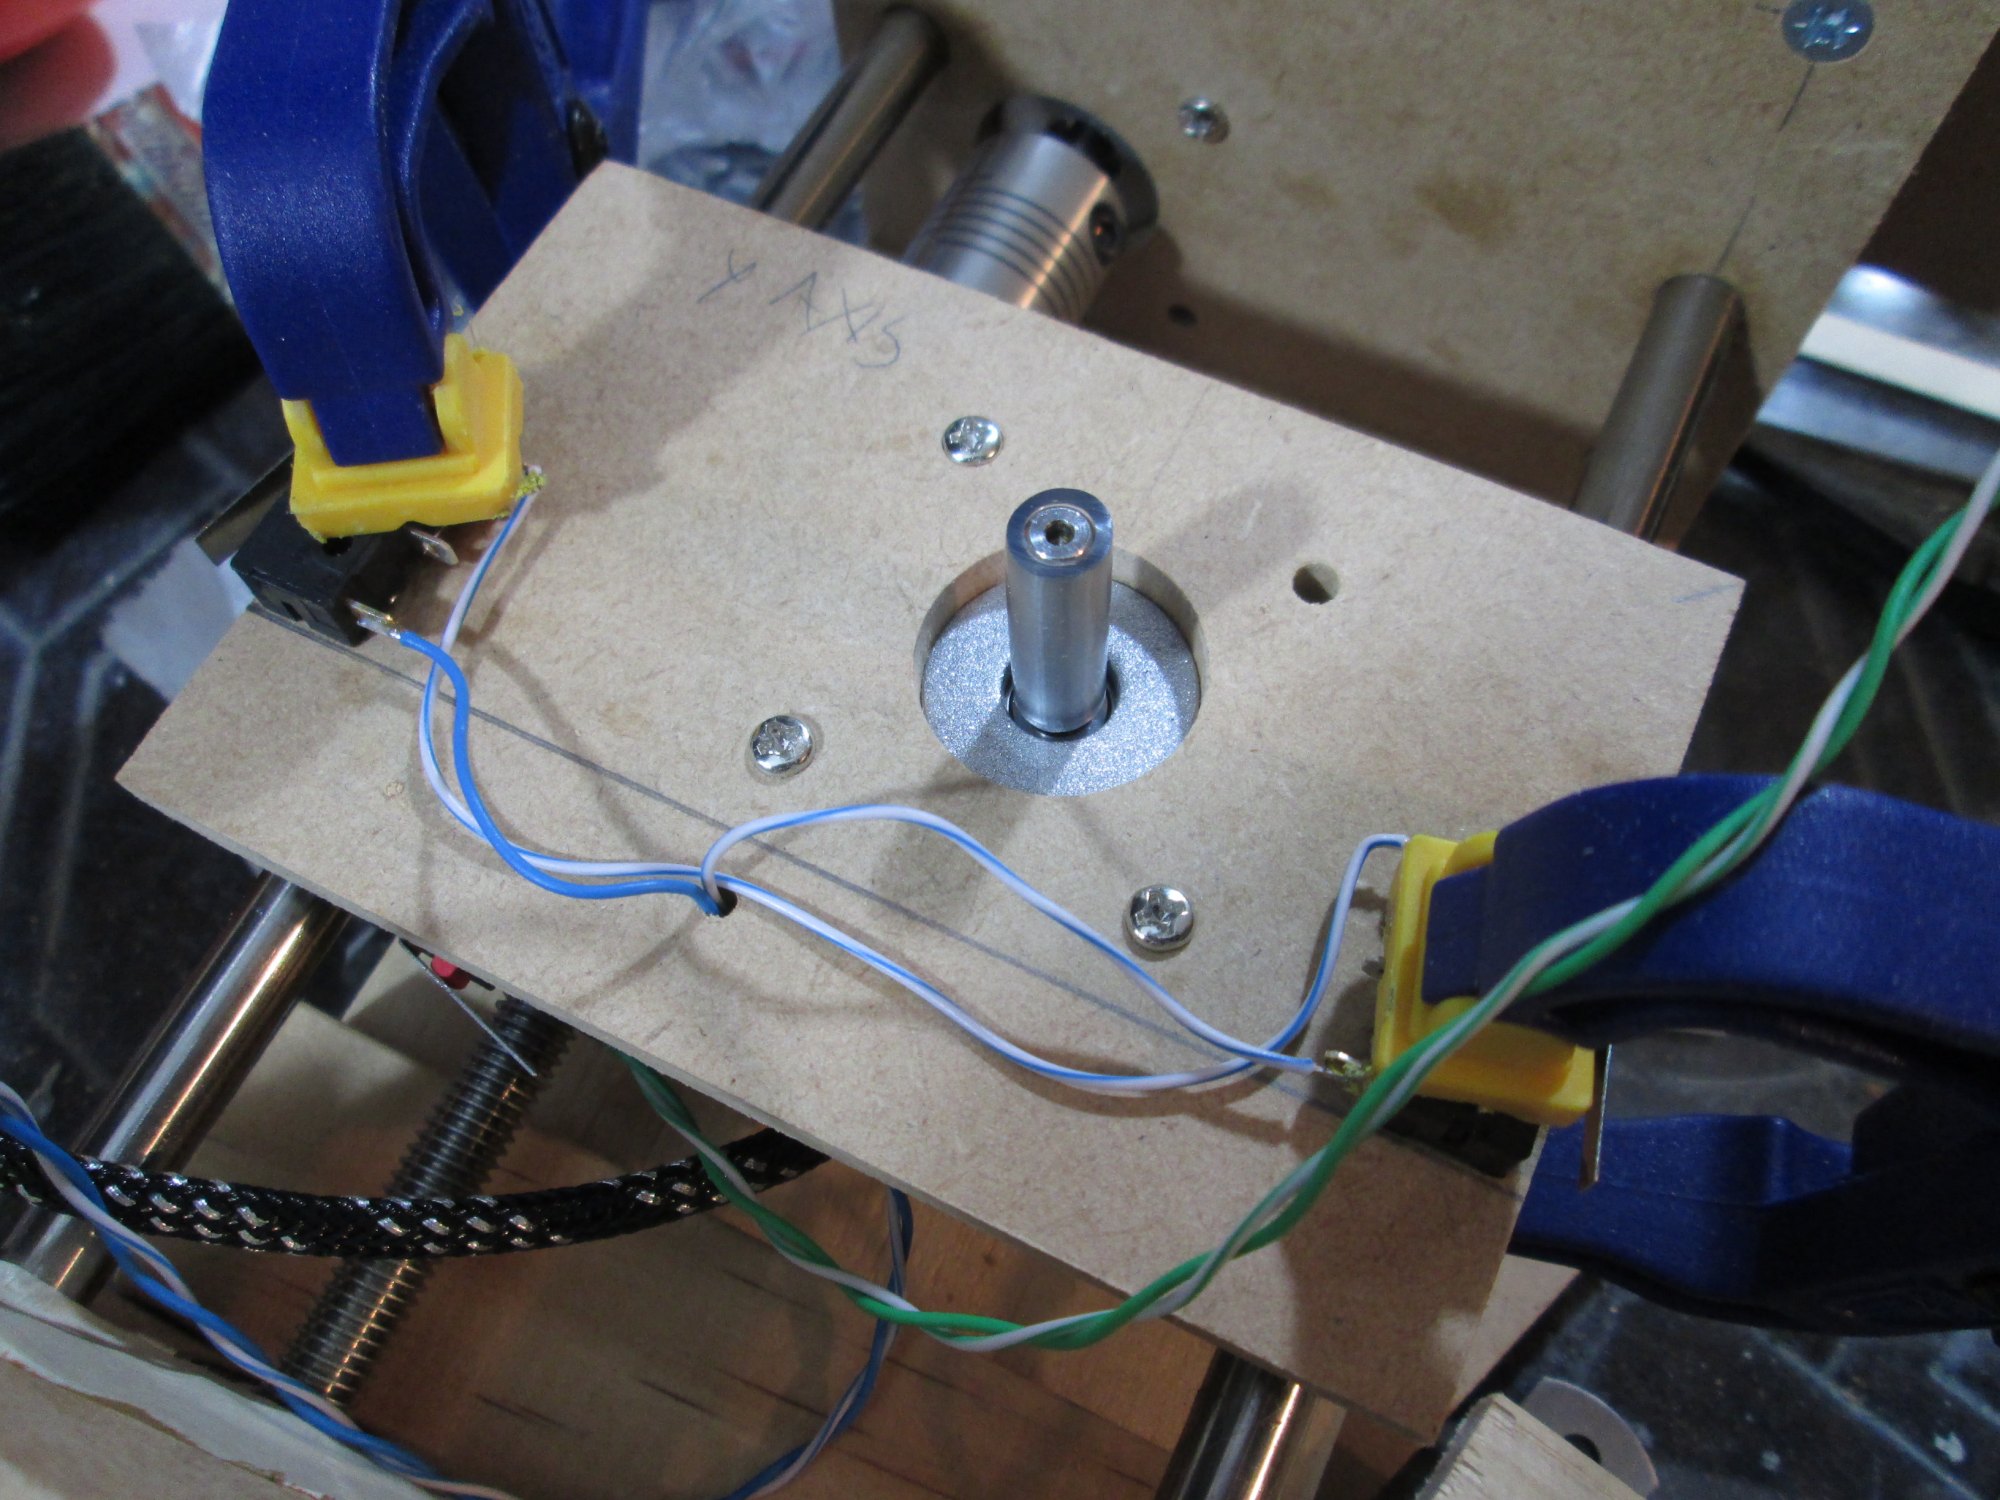
And then the Y axis was joined to the Z axis. I used some MDF spaces to ensure the Y axis was level with the rest of the machine and glued the whole lot in place.
I then clamped it with whatever heavy objects I could find. It may be a mess, but it worked!
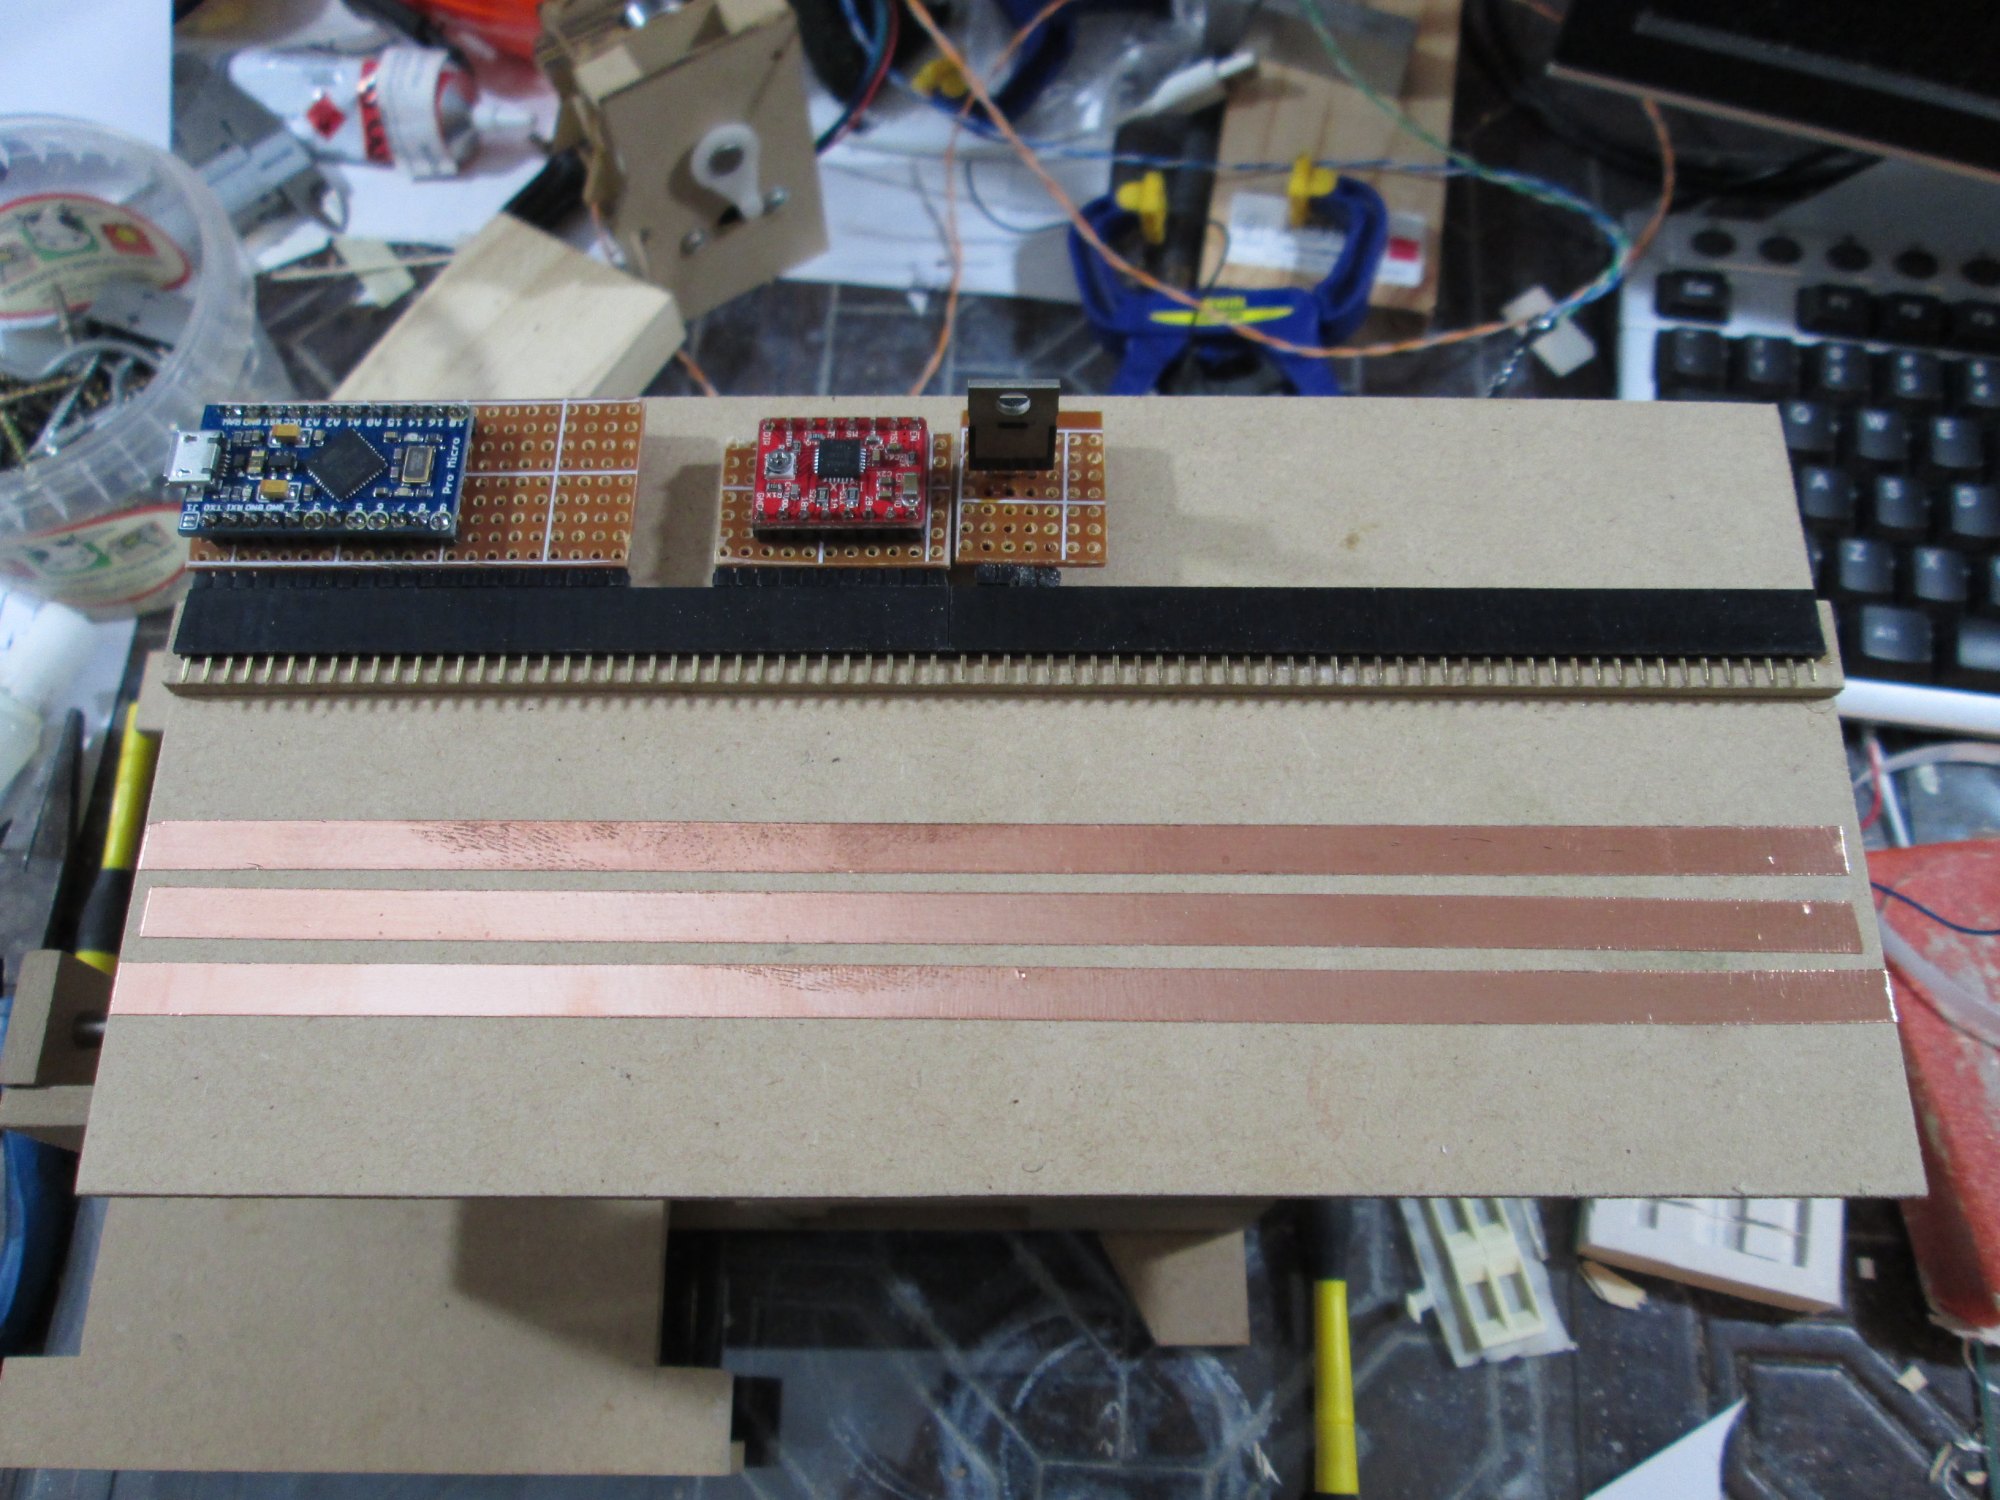
While that was setting up, I started building the electronics. I used a similar approach to my CNC machine, using female mating sockets and some self adhesive copper strip to form bus bars. The various components then get soldered up into sub-assemblies that plug into the female headers.
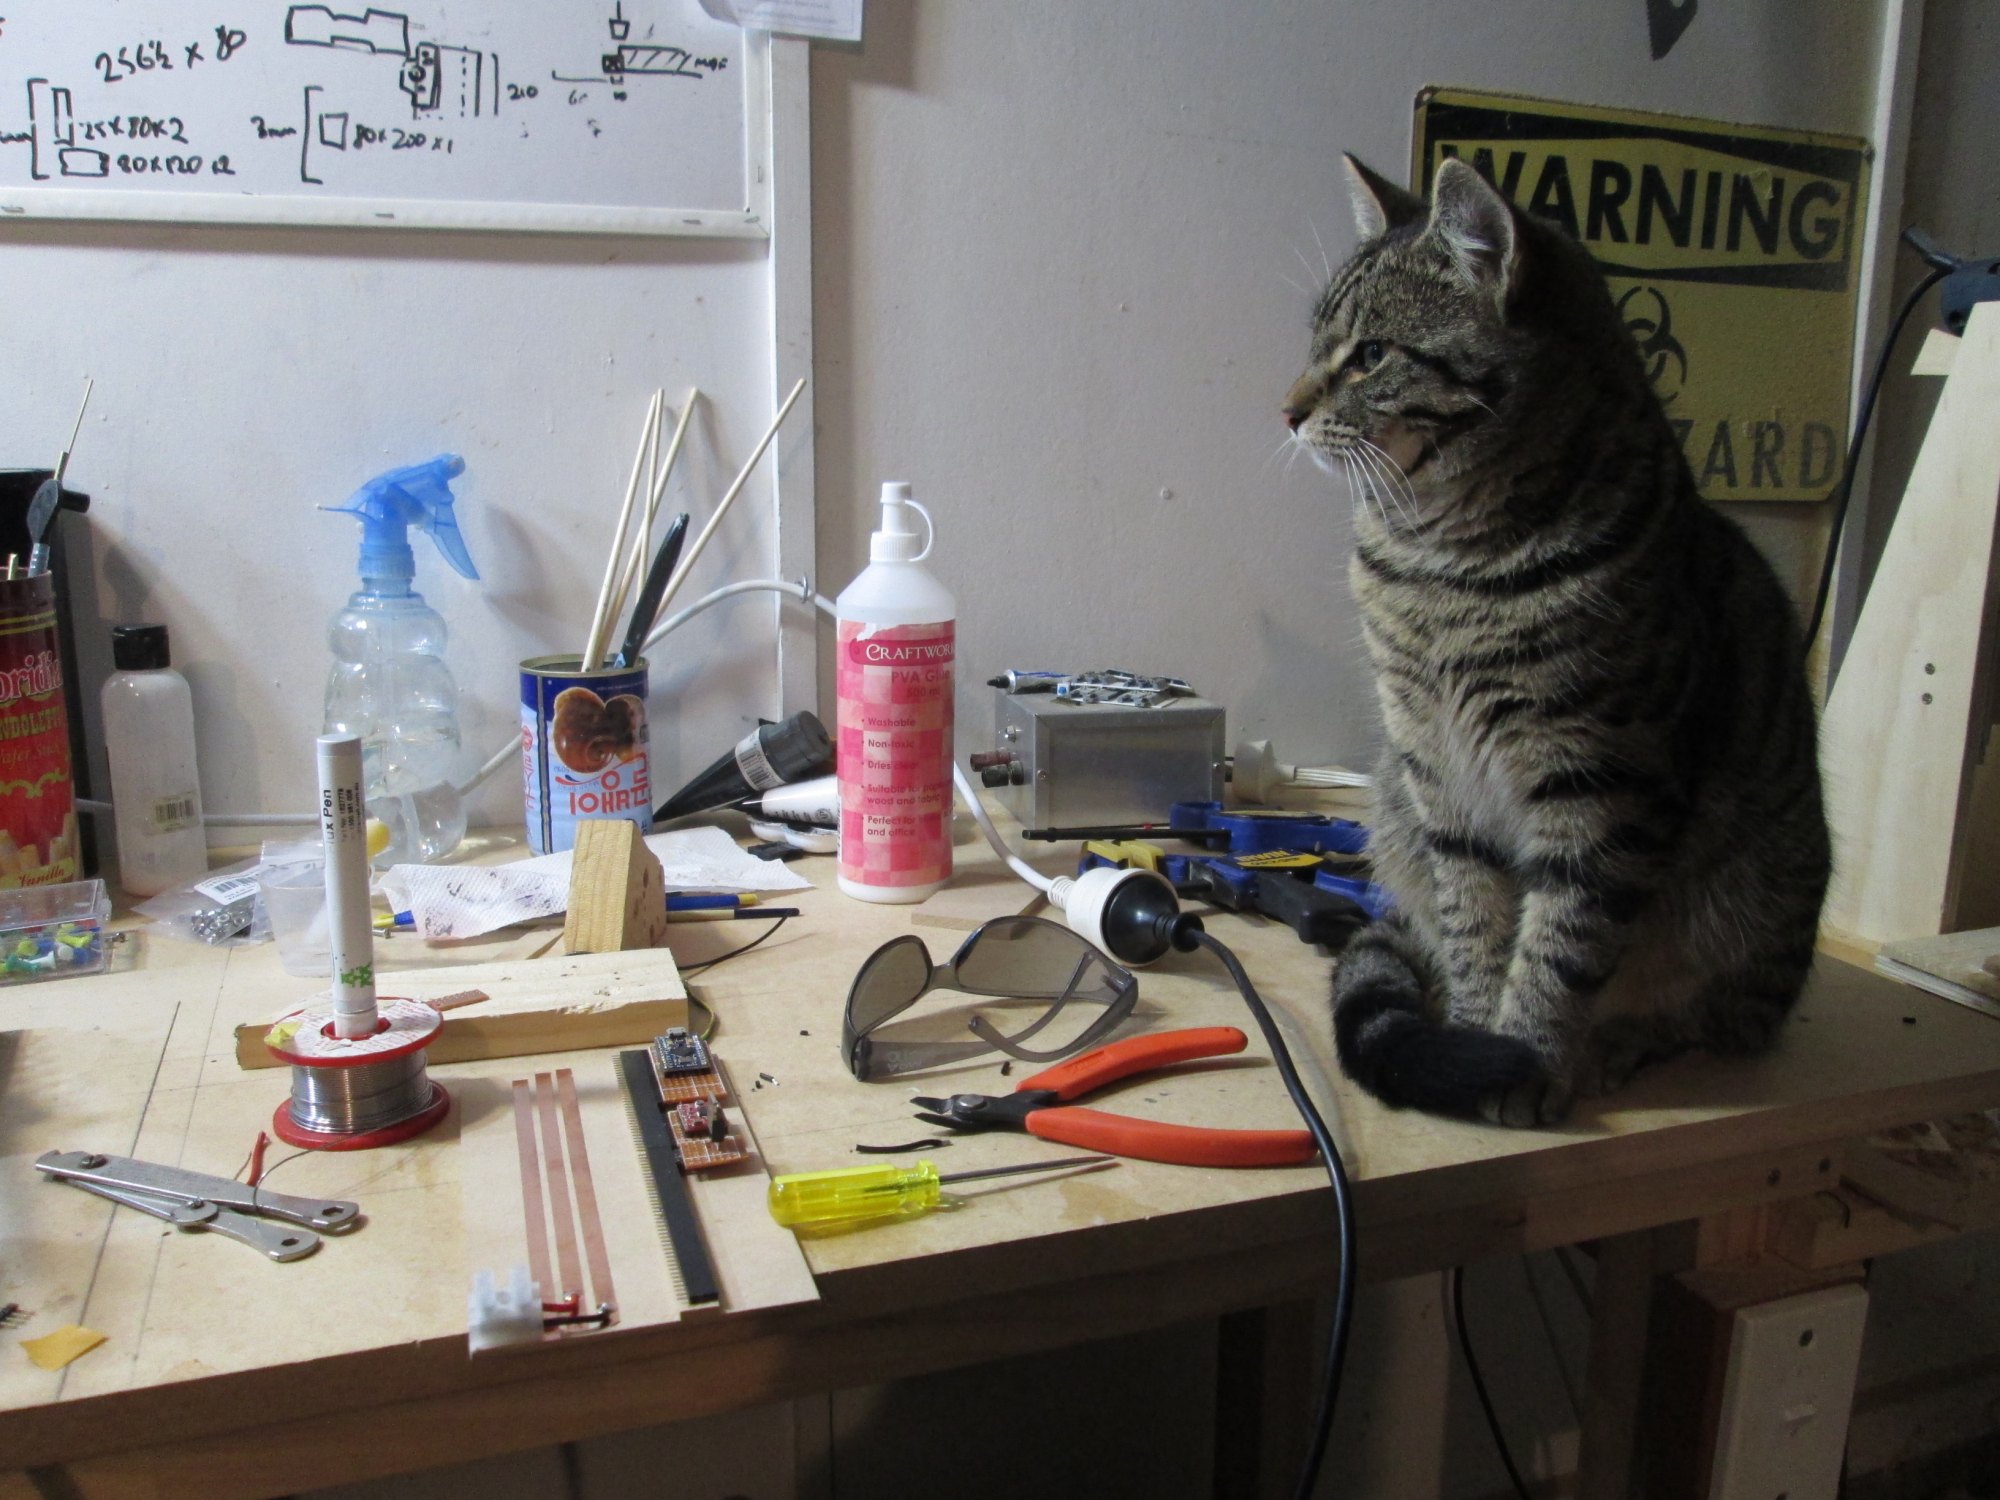
I had a bit of help...
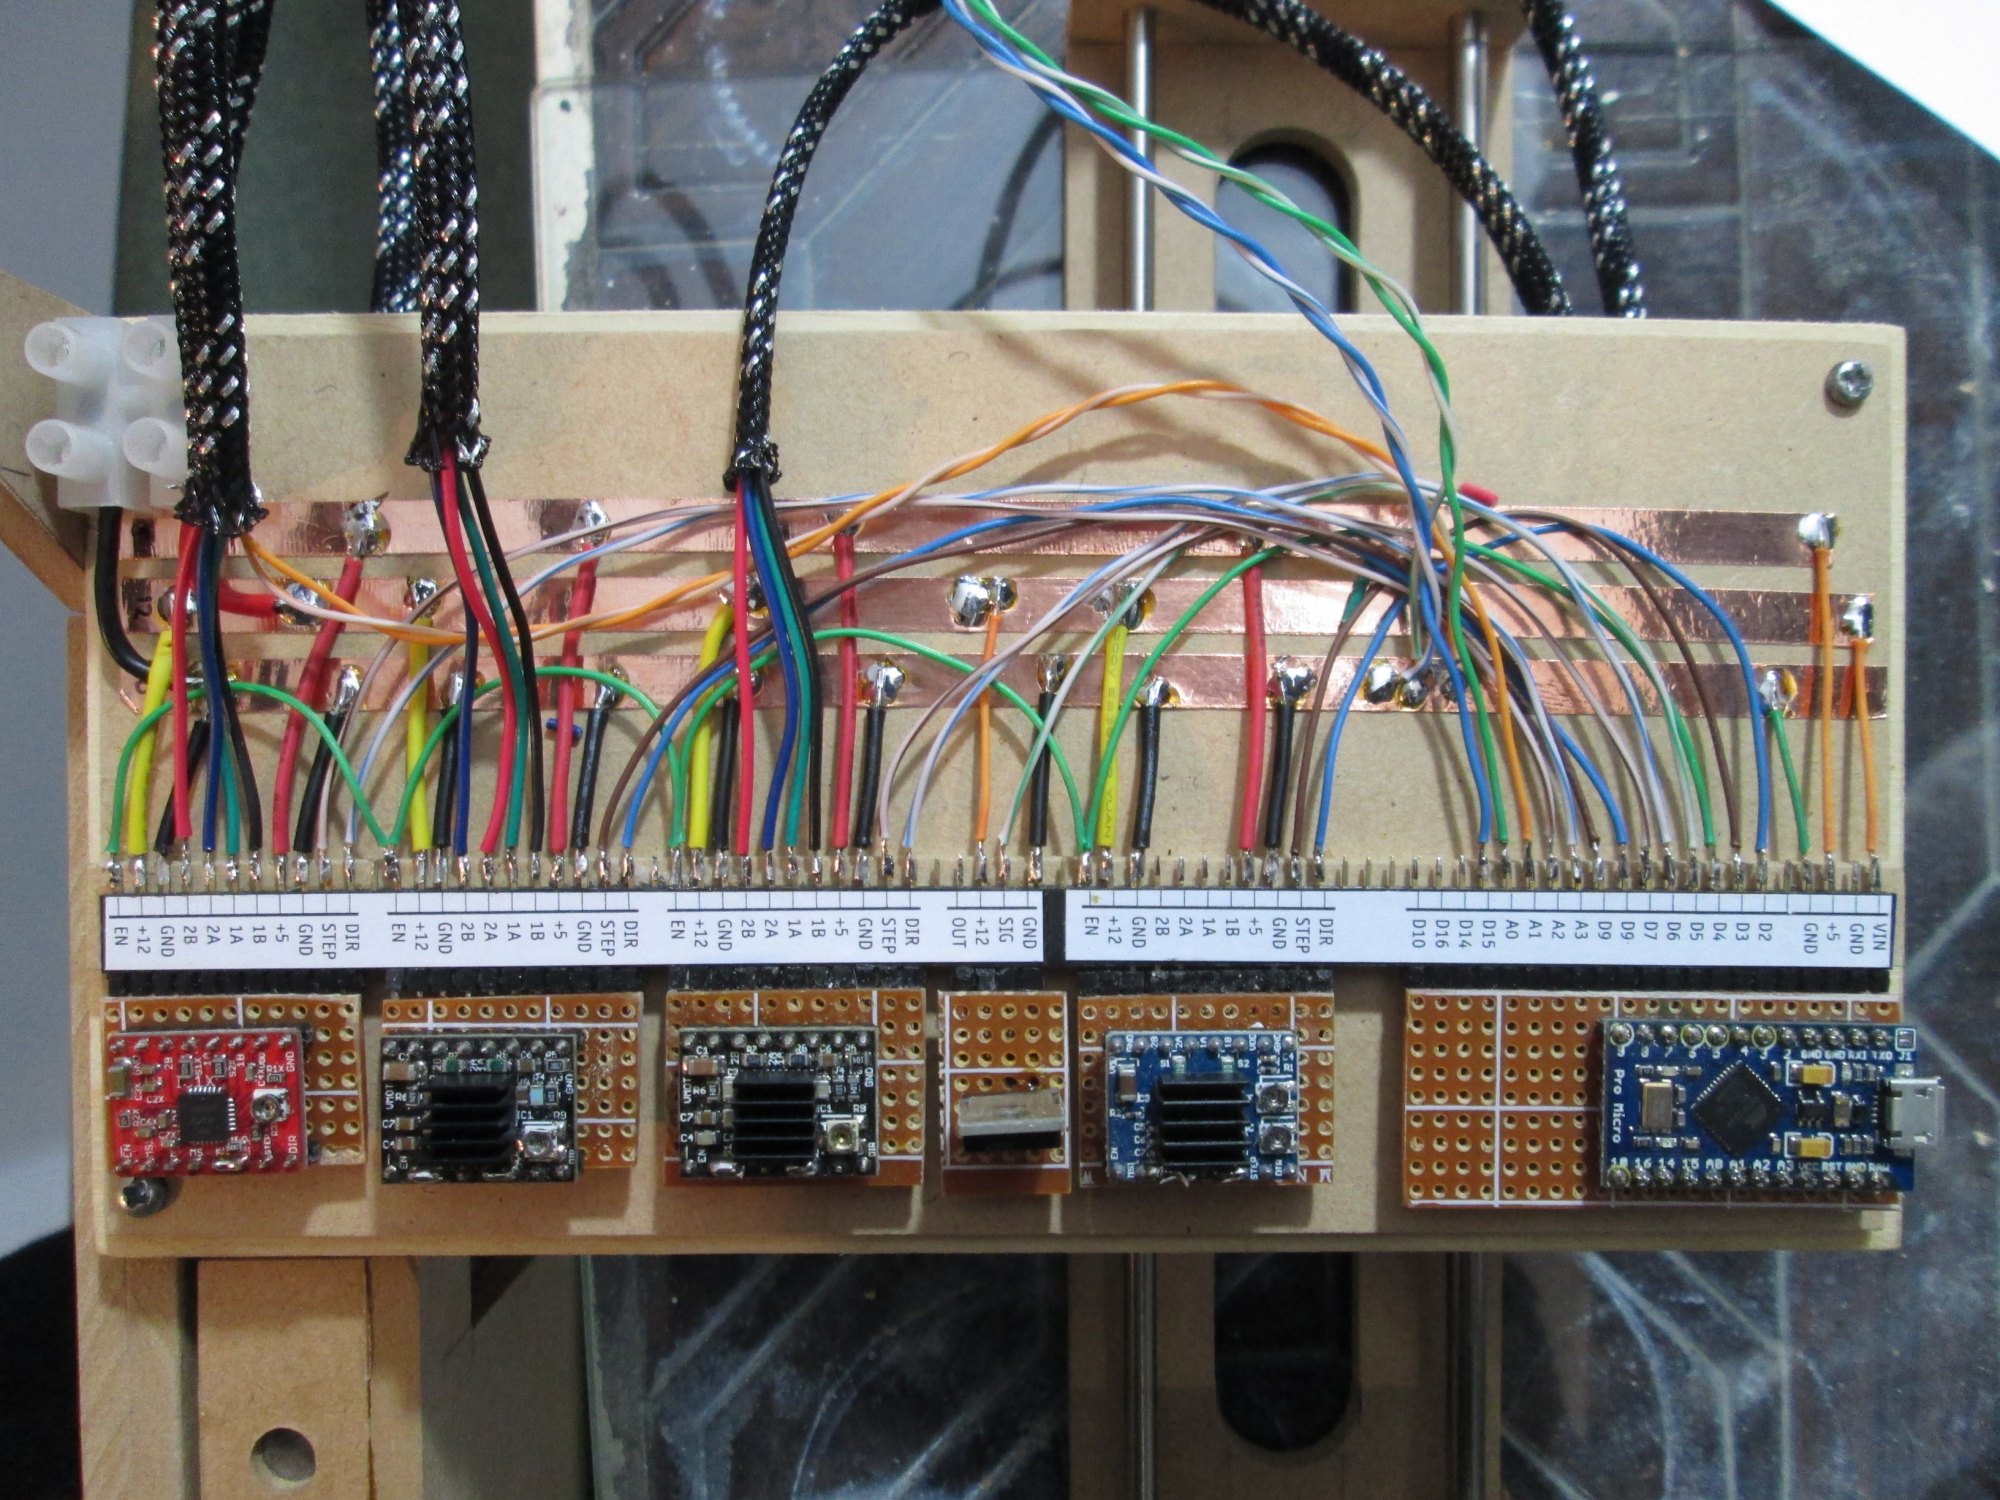
I then wired up all the motors to the headers and connected the appropriate pins to the supply rails, and the drive signals to the Arduino headers. To keep things tidy I used some braided cable tidy to contain all the wires to each section of the machine.
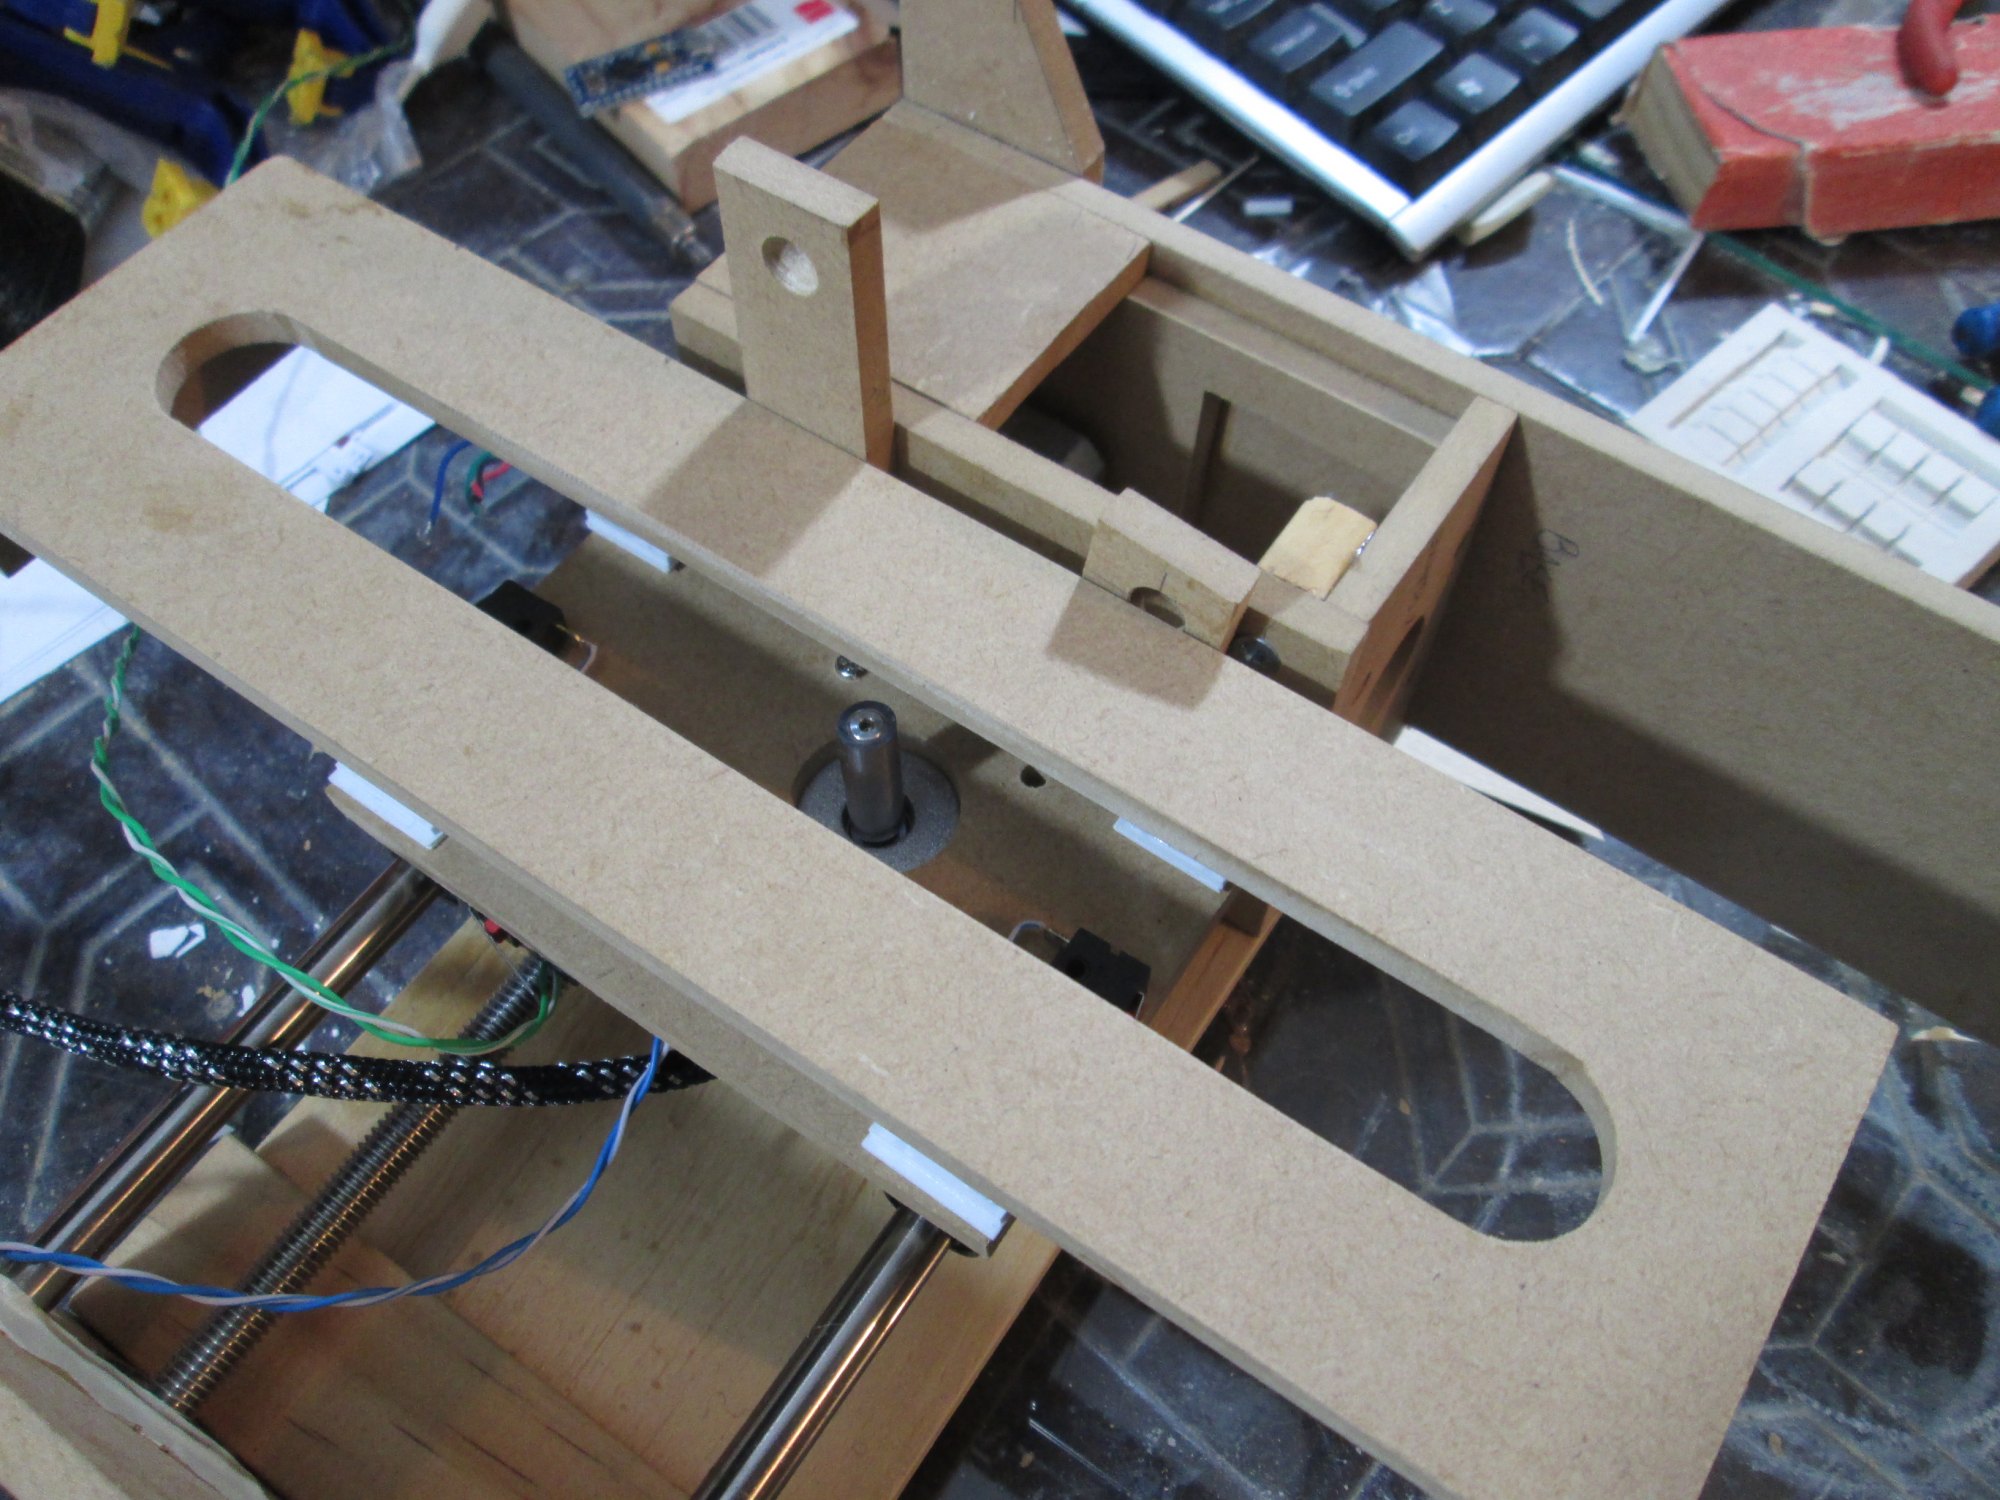
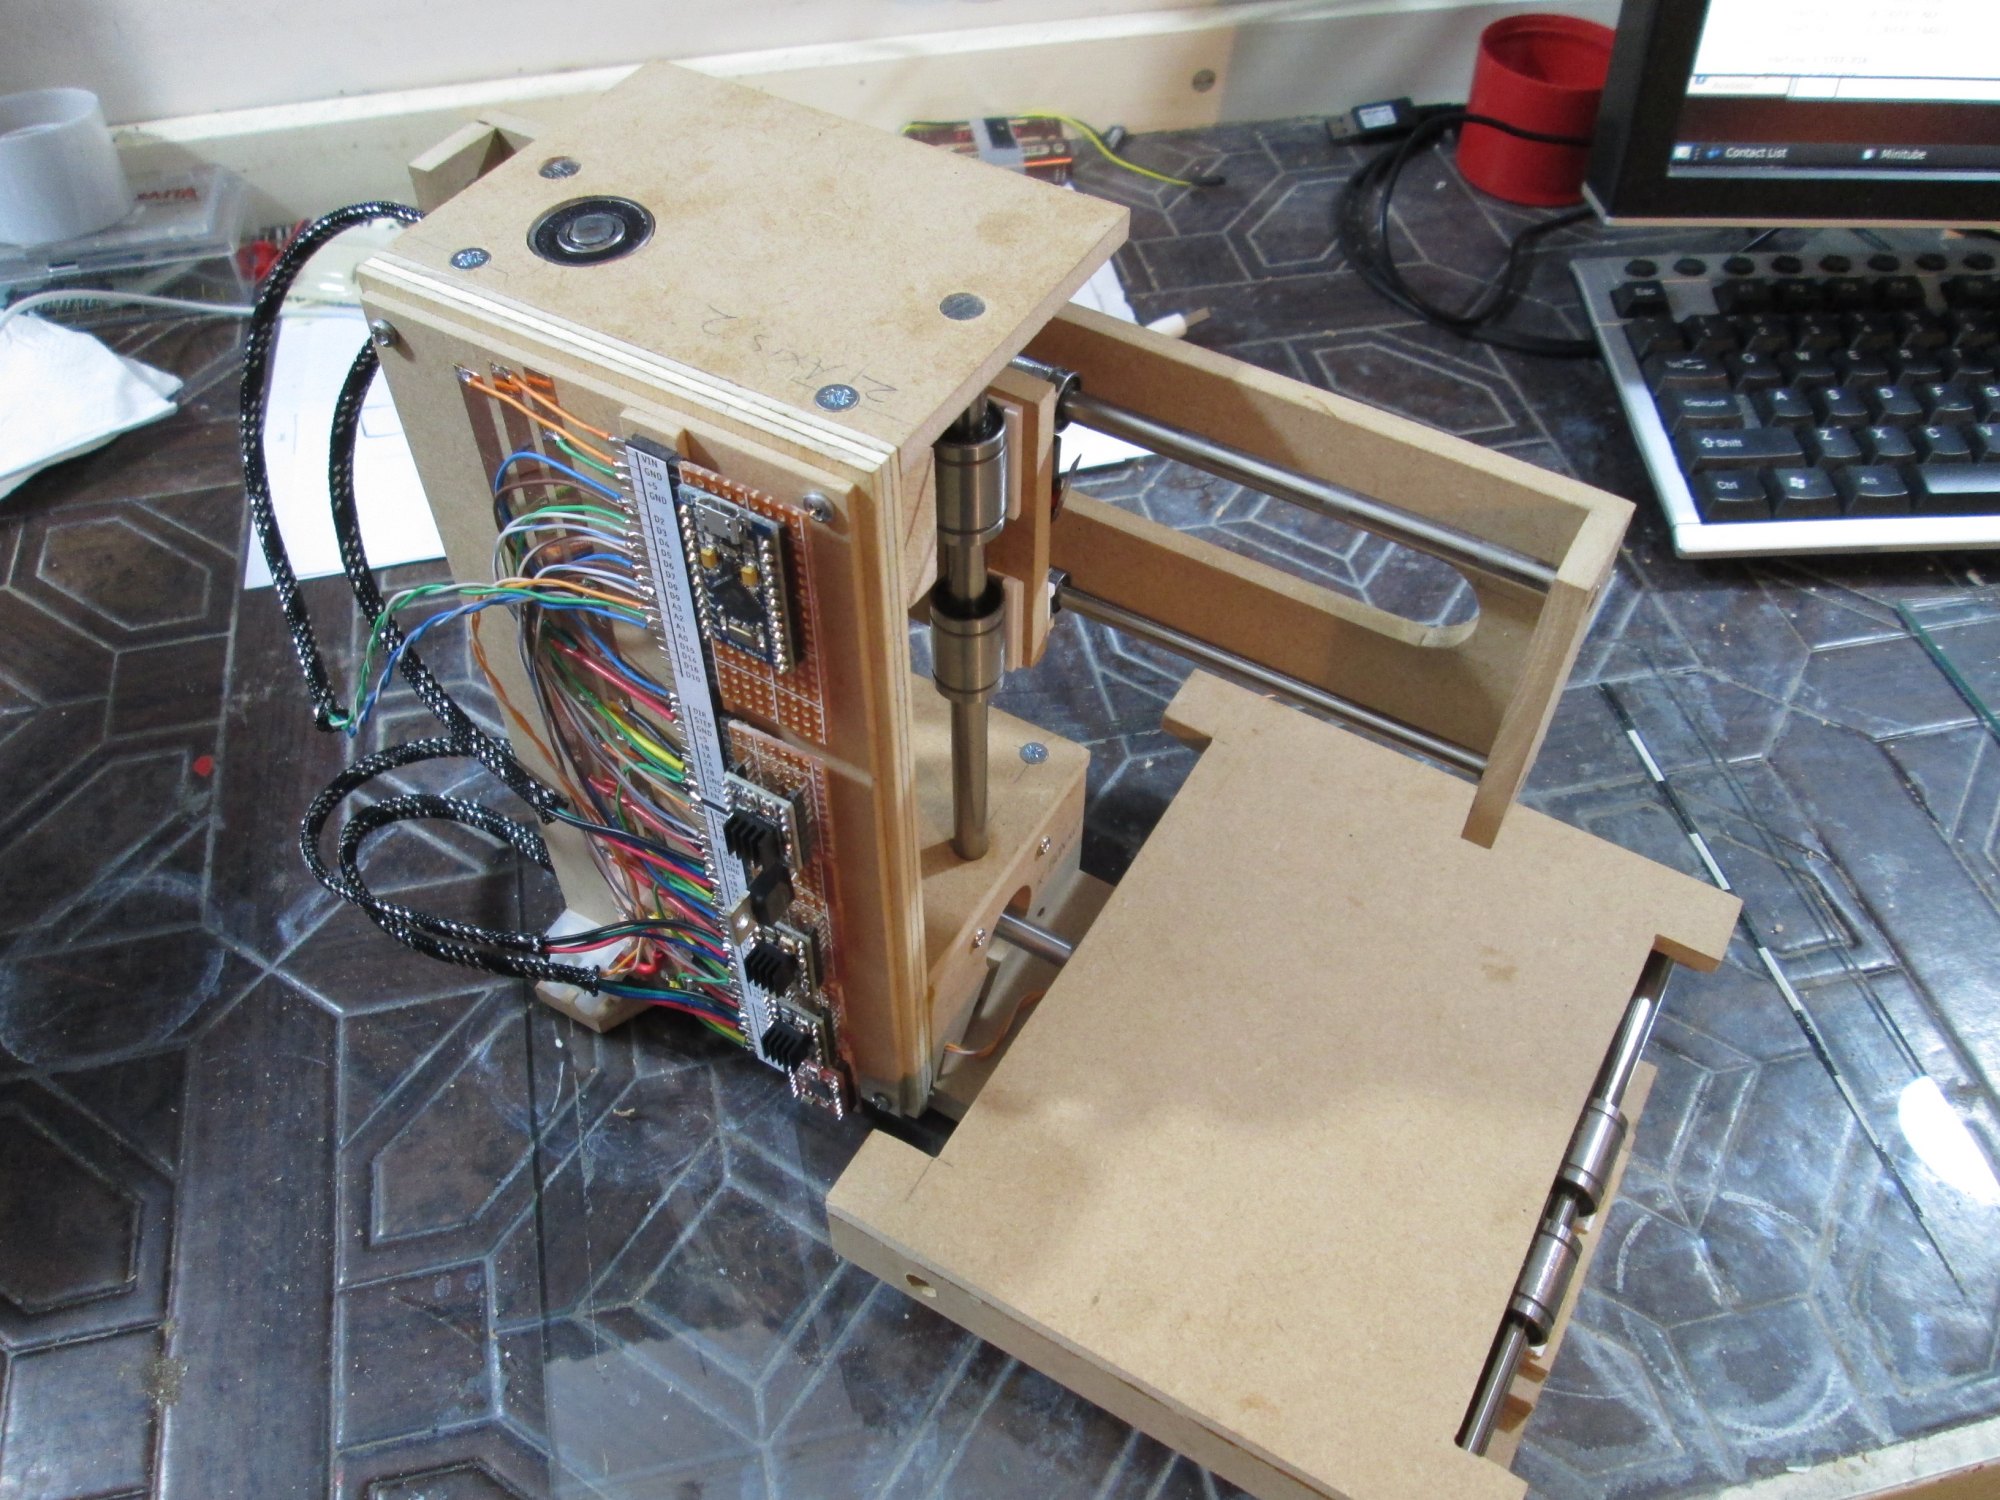
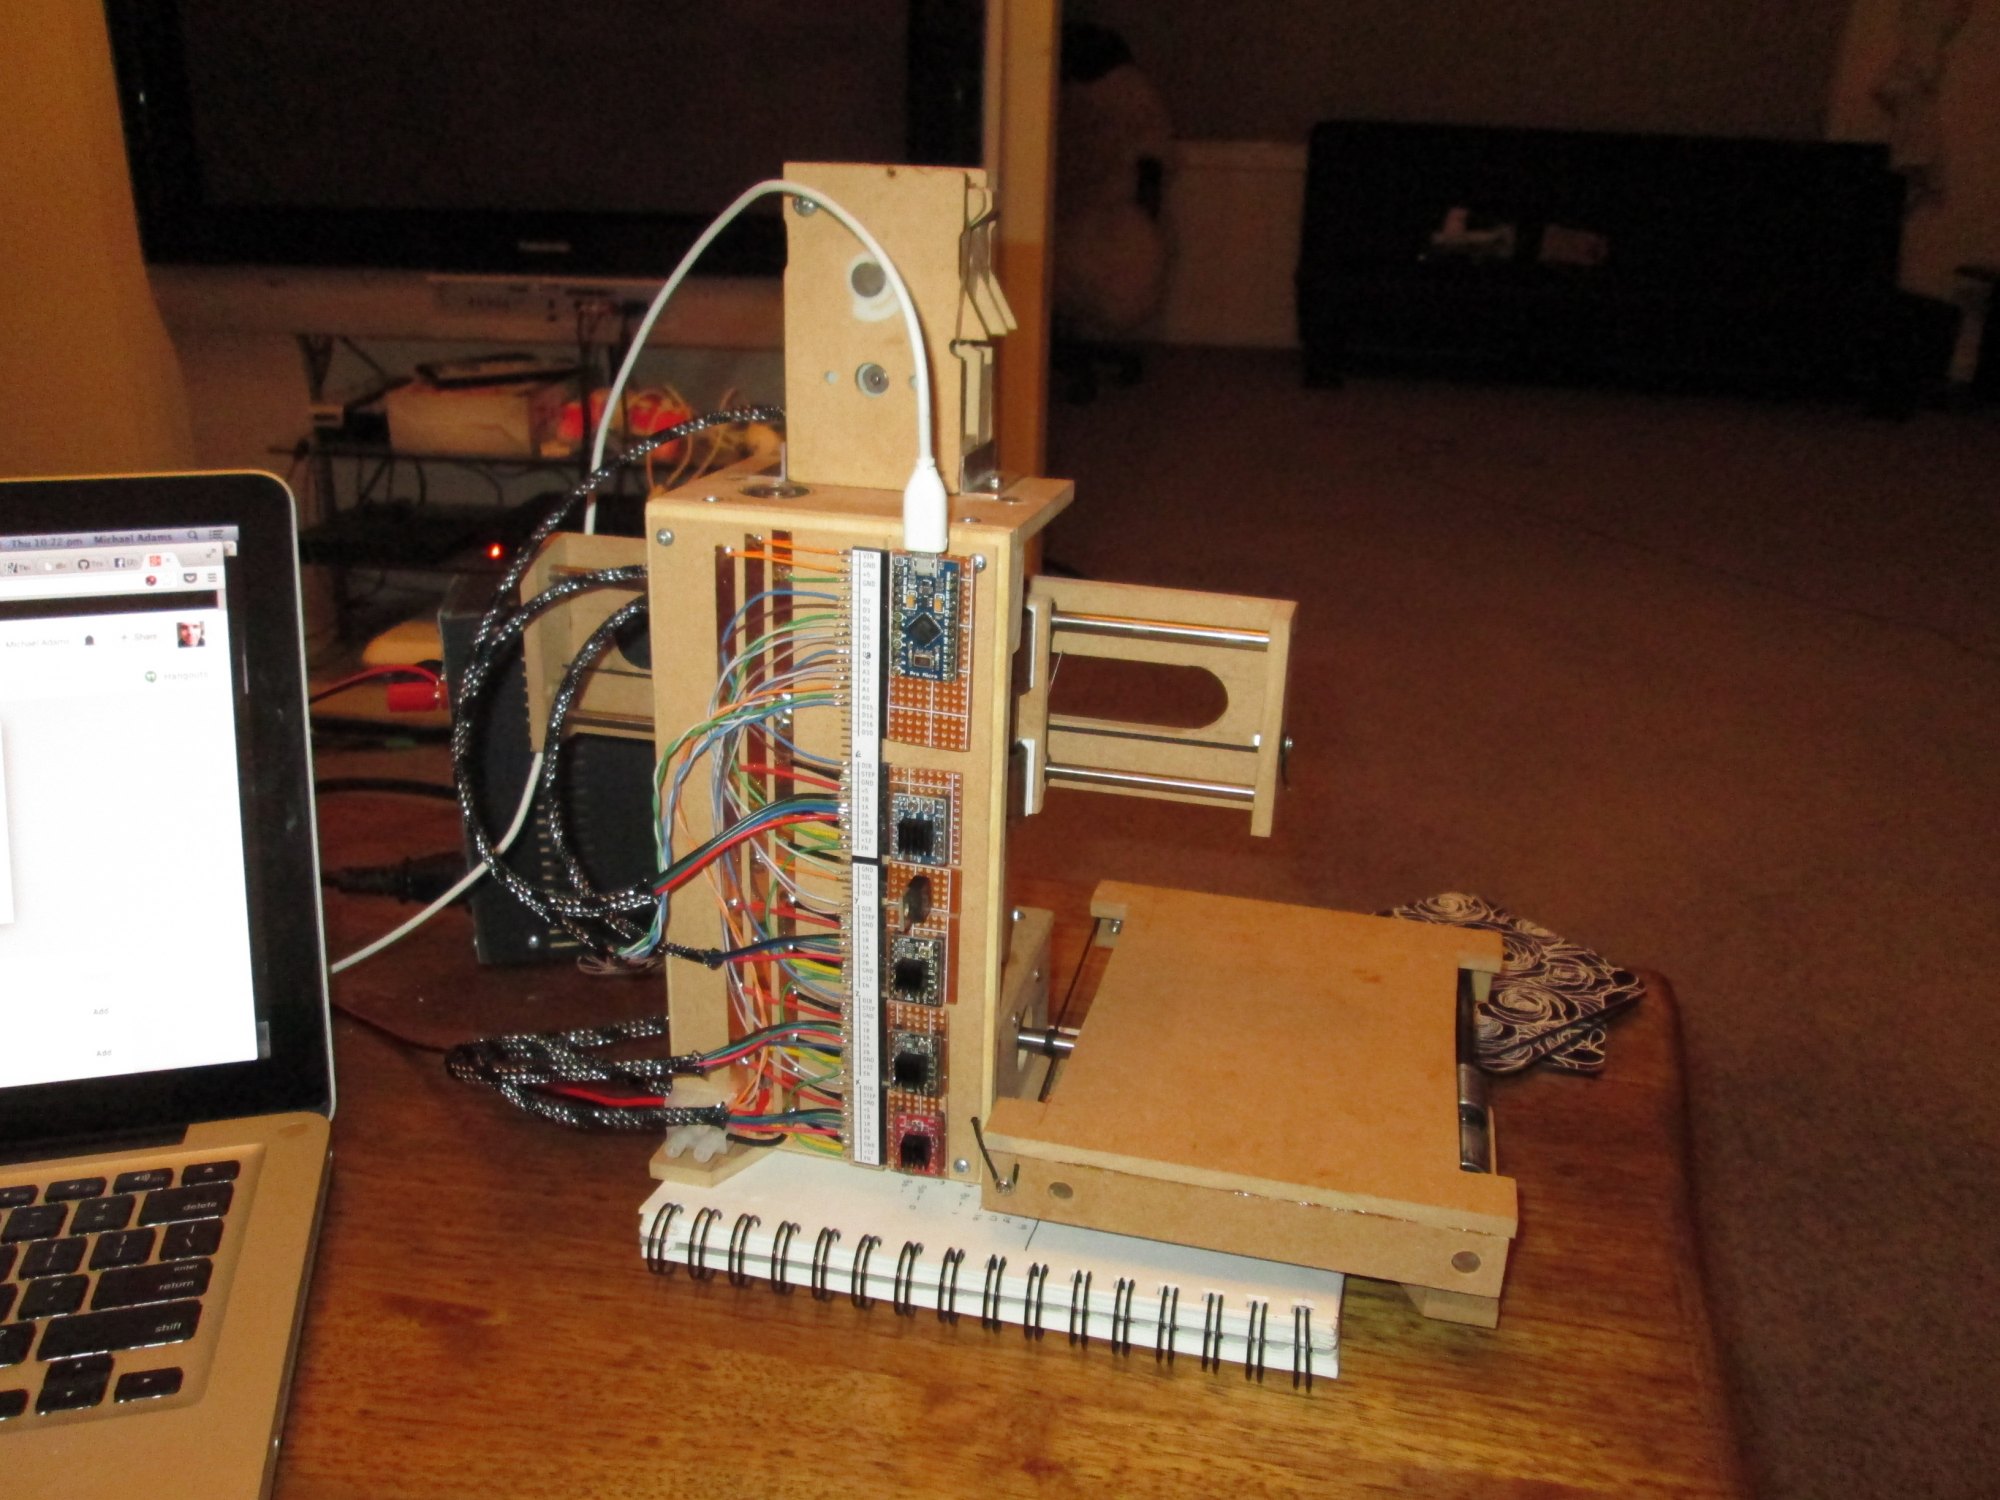
Meanwhile the rest of the glue had dried and the machine was starting to look like a 3d printer! (I also cleaned my desk, isn't it tidy...)
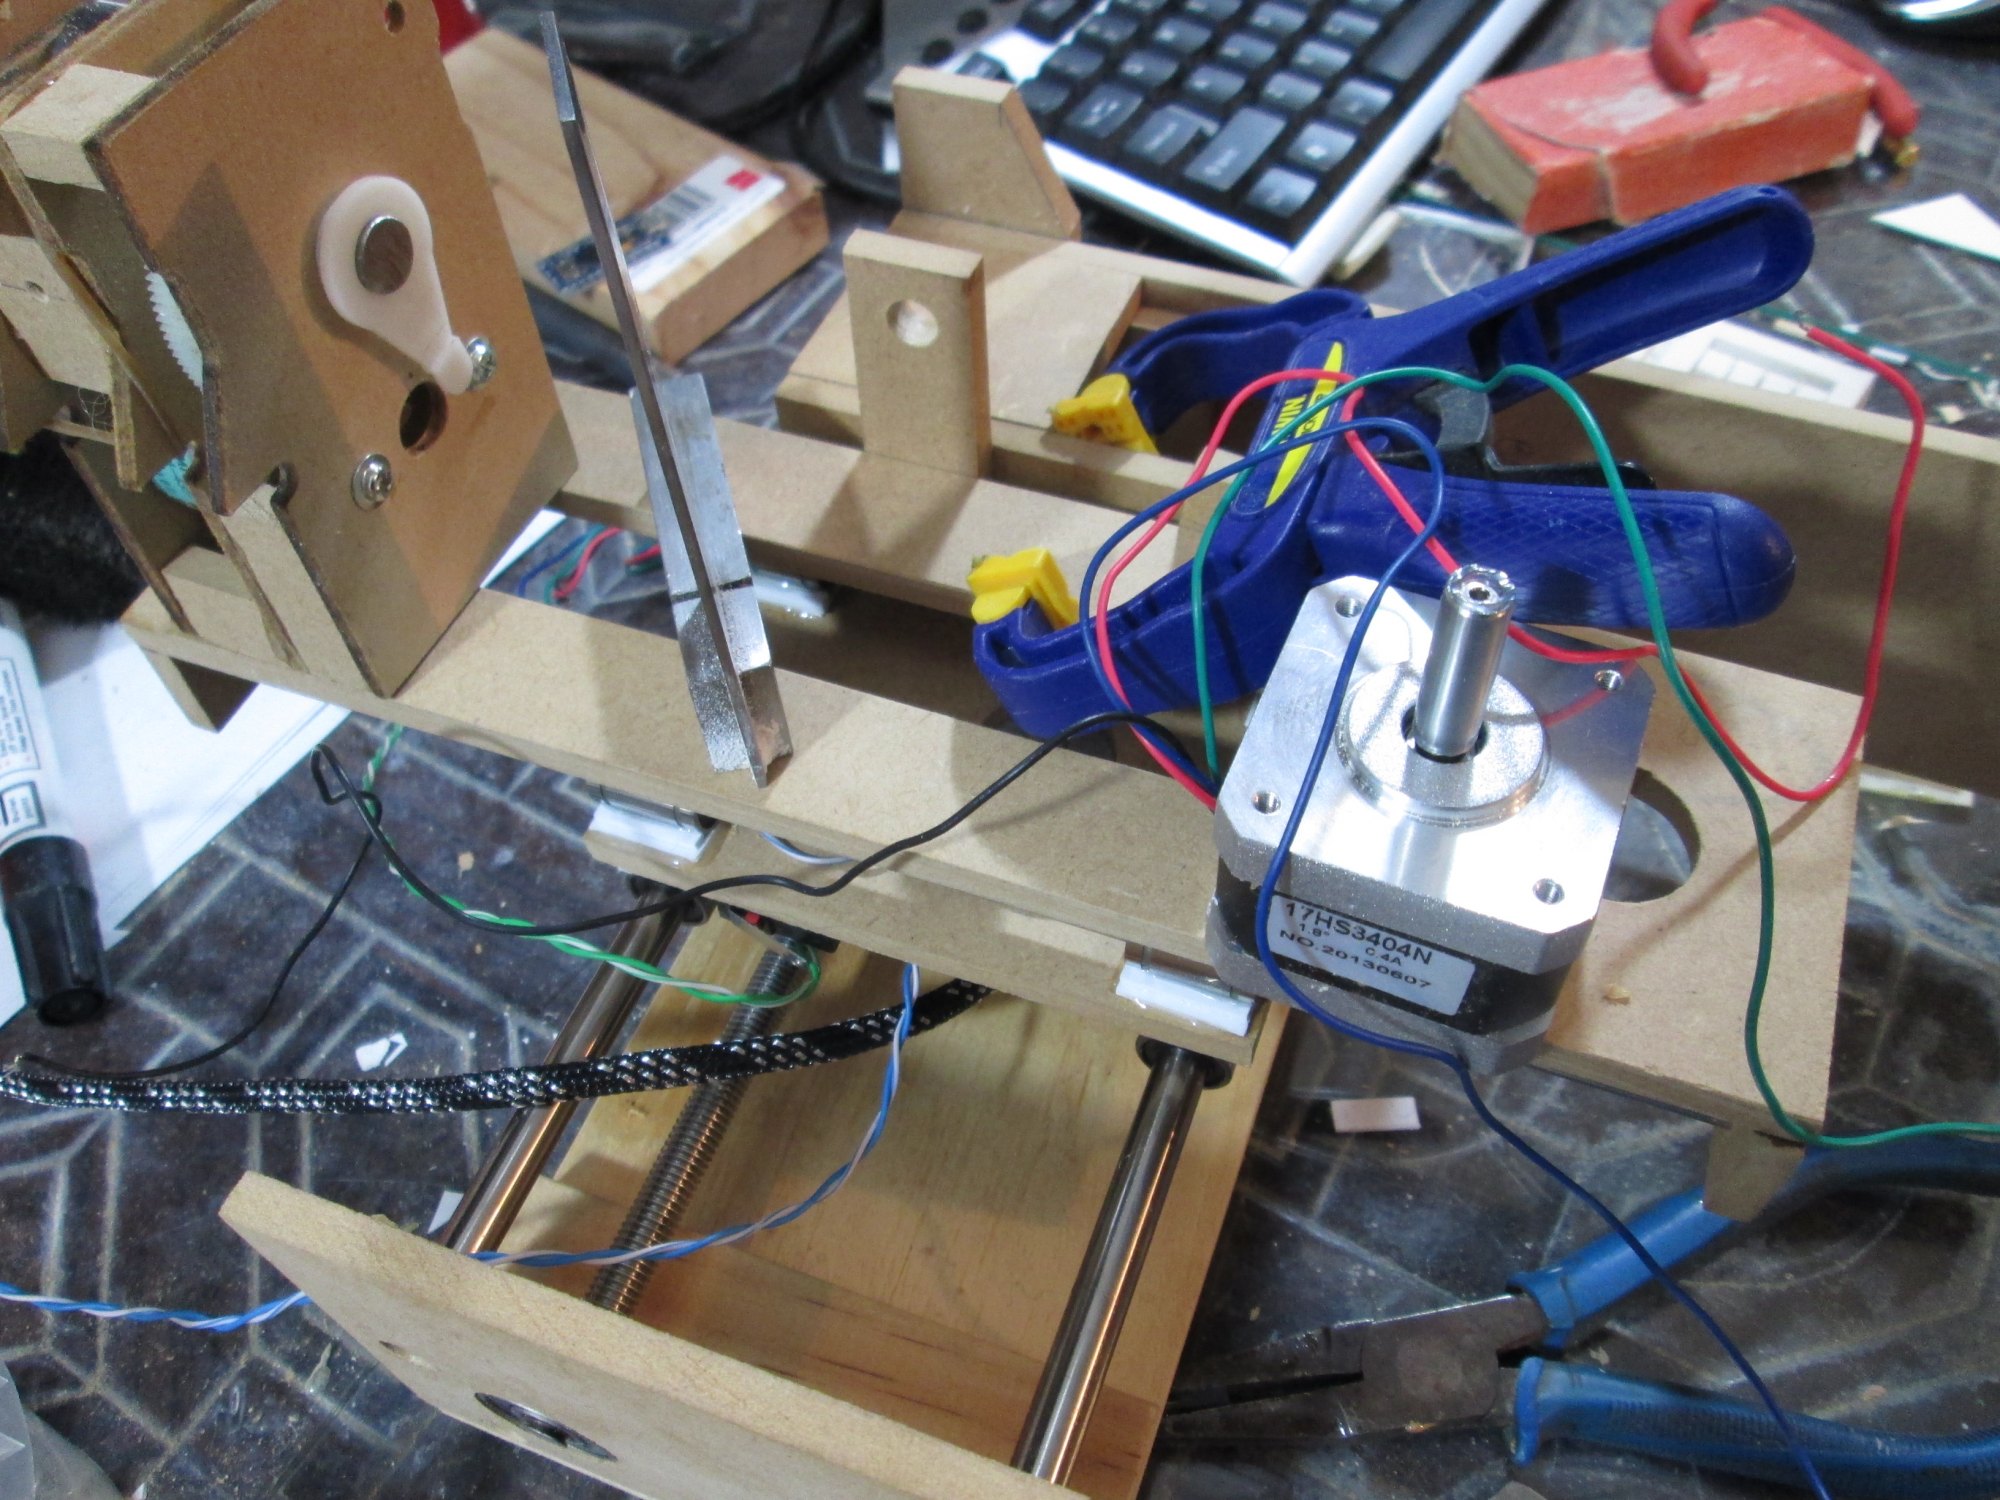
Next I started hooking up each axis to the motor. The Z was already done with its threaded rod, however the X and Y needed some fishing line. I drilled holes in the ends at the right offsets and run the line between. A bolt on each end is used to tie off and tighten the thread.
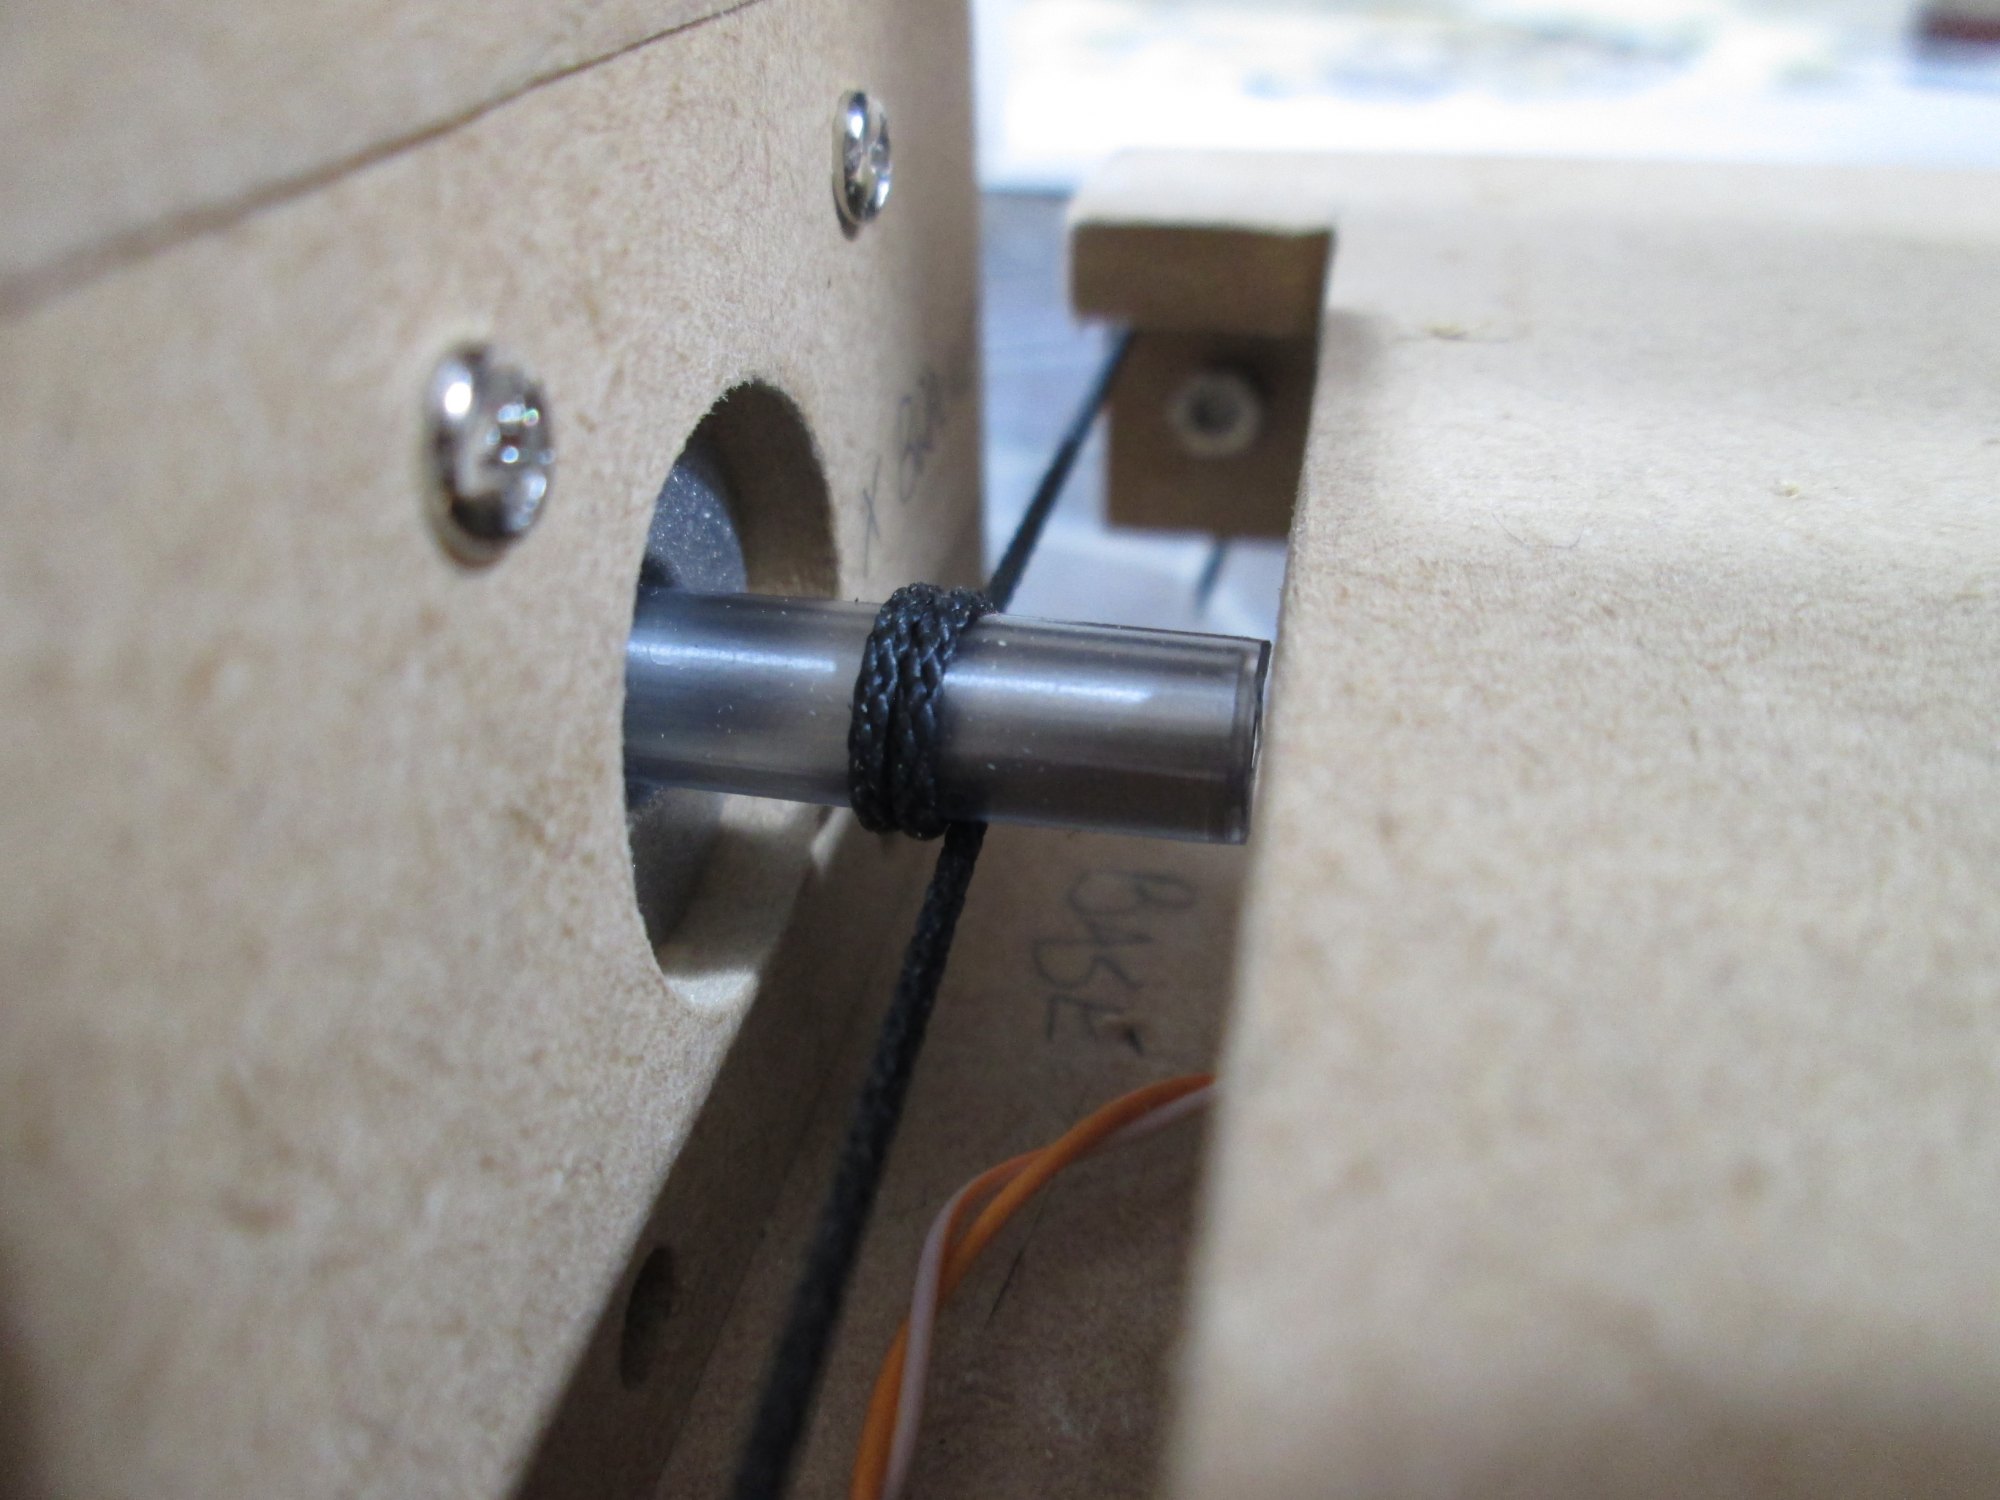
The capstan effect means that the motor has an extremely strong grip on the thread and is able to move the carriage very smoothly.
I now had the bulk of the machine assembled and wired up, so it was time to do some testing and get it working.
I made a very thorough list of what pin drove what and programmed all the settings into the Teacup firmware. I programmed the Arduino and fired up Print Run. Everything moved! There were a few quirks and bugs, and the Z axis was reversed, so I made the changes and tried to reprogram the chip. However due to quirks with either Mac OS or the on-chip-USB support, I was no longer able to reprogram it. Hmm. I tried a few things, and in the process accidentally plugged the board in while the power was connected. In theory this shouldn't be a huge problem, but there was a big bang, smoke escaped, and it wouldn't respond any more :(
I quickly found out that the 5V rail was sitting at 0V, so somehow I'd burnt out the regulator on the Arduino. I wired up a new regulator and added a power switch and some LEDs to show the status of the 5V and 15V supply rails.

I really should have done this from the vey beginning, but was impatient and trying to cut corners.
I rigged up the power and could see that I had a problem already; the 15V rail was alive, but the 5V rail was still dead. I unplugged everything and through a process of elimination quickly discovered that one of the step-sticks was completely dead, with the 5V line shorted to 0V. Sigh. Lucky I had one spare one, so I soldered that up. I did some tests and soon discovered that not only had I totally fried one stick, but the other 3 were also all dead. Disaster! So with my single working step stick I am able to verify that the extruder moves, but that's about it. I also can't use my CNC machine, as I had just borrowed the step sticks from there! Talk about frustrating.
I have ordered some more step sticks, enough for both machines, and hopefully now that I have learned my lesson I won't blow any more up. In the meantime I just have to wait, which is very frustrating seeing as I'm so close to having a real living breathing working printer!
In slightly better news, I have finished my monster power supply. It was a pretty simple build and puts out a lot of very clean, very smooth DC.
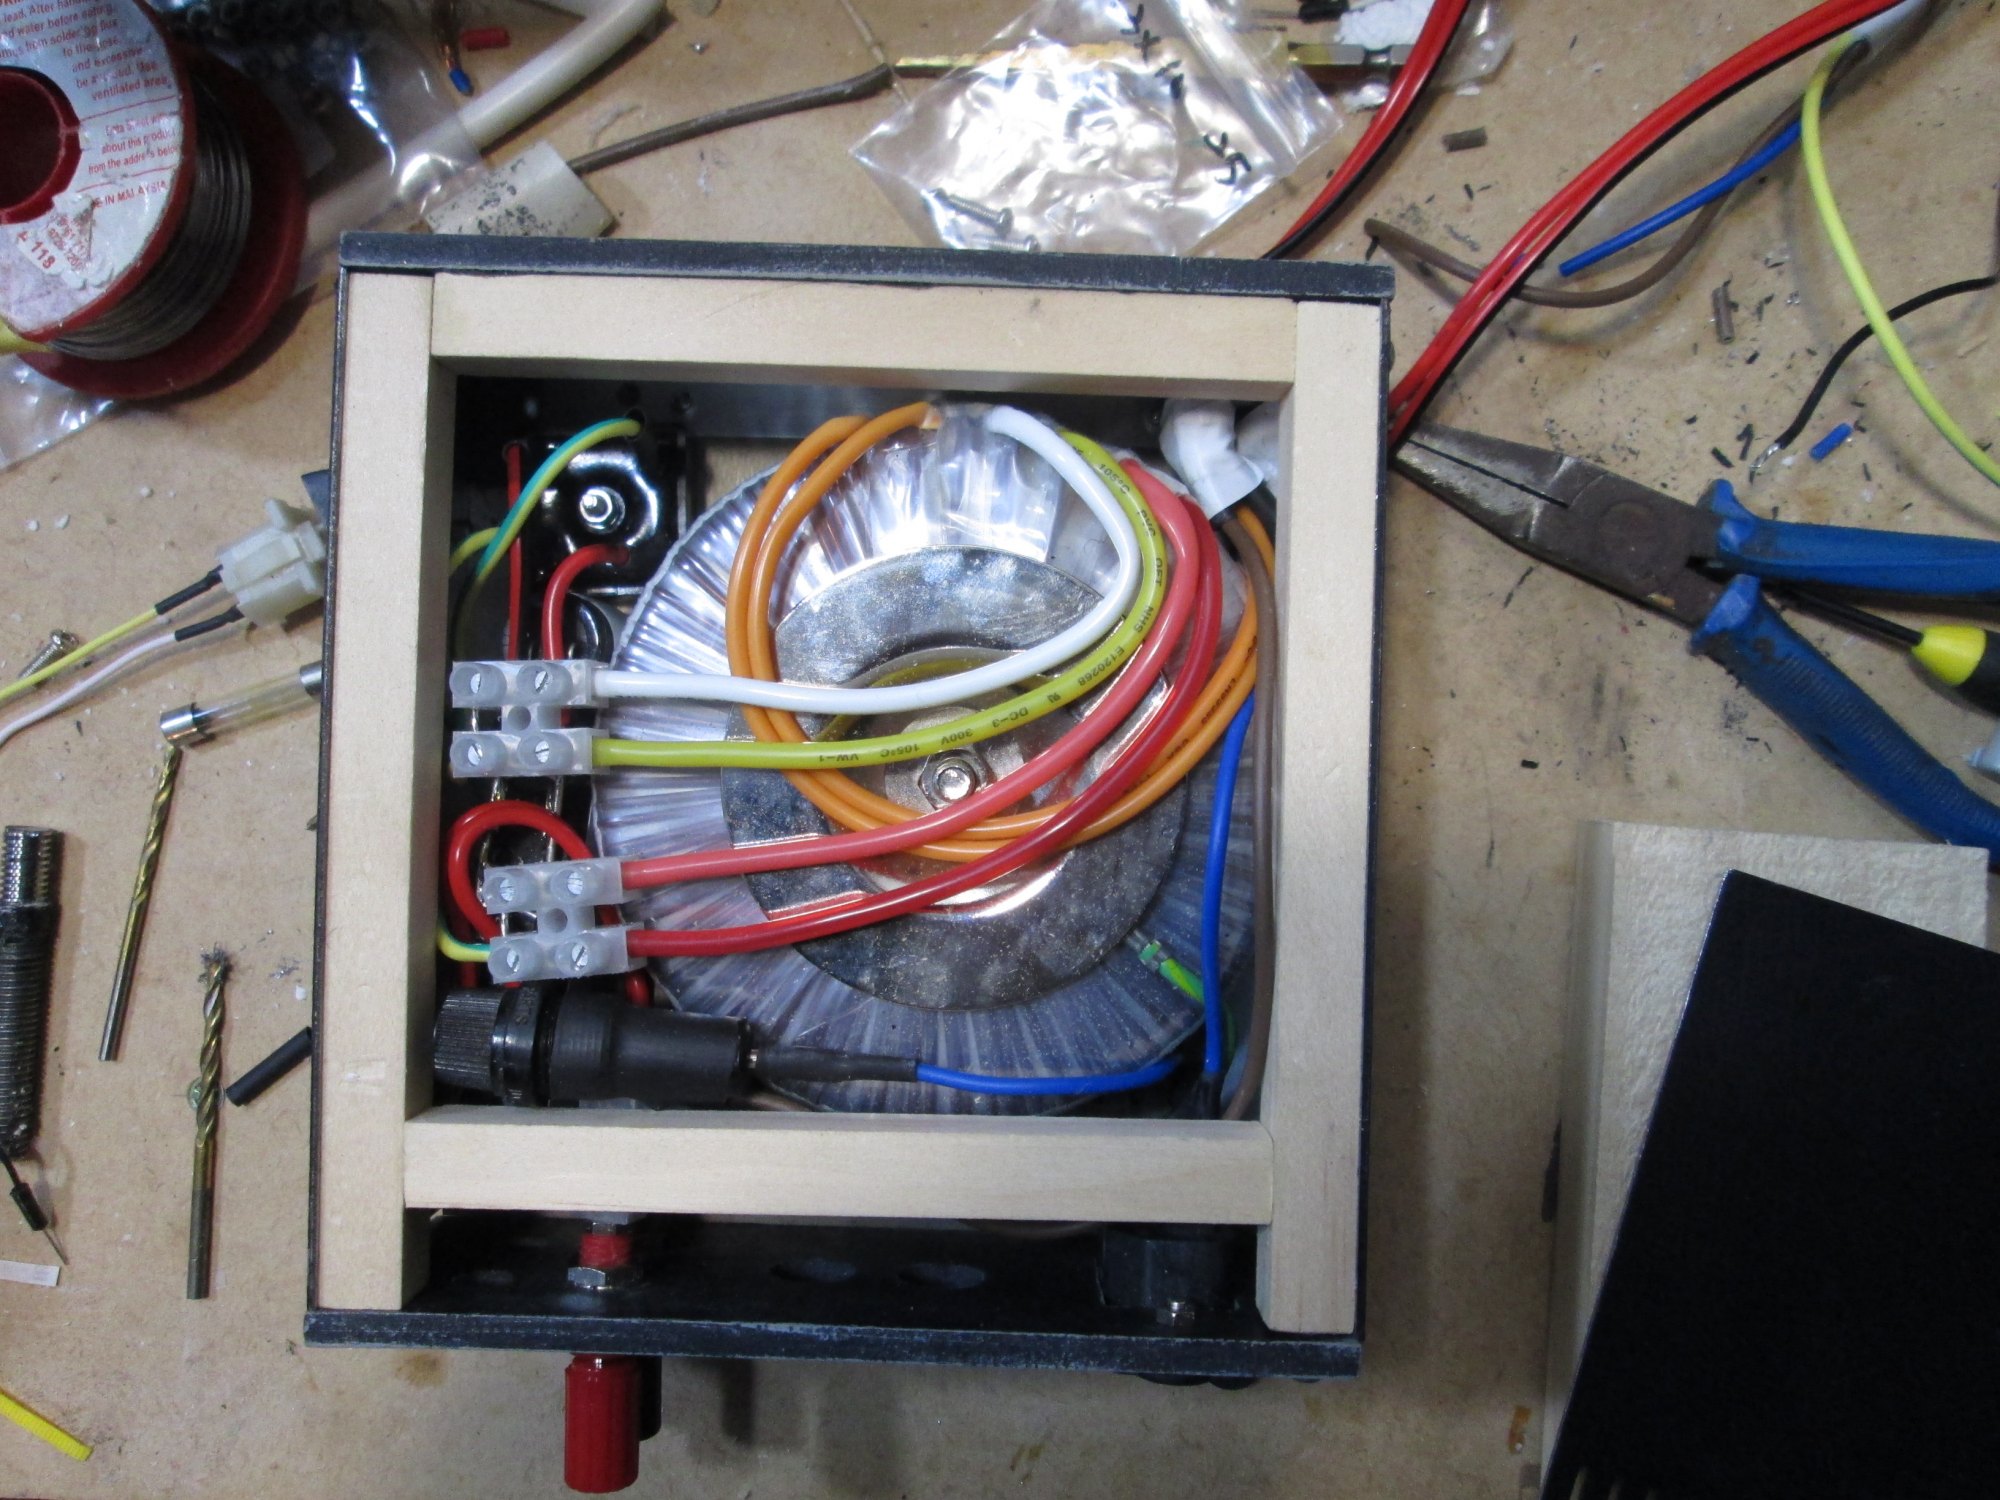
Once my CNC machine is running again it should be a good upgrade from the laptop power supply.
Leave a comment?